Hardware examples

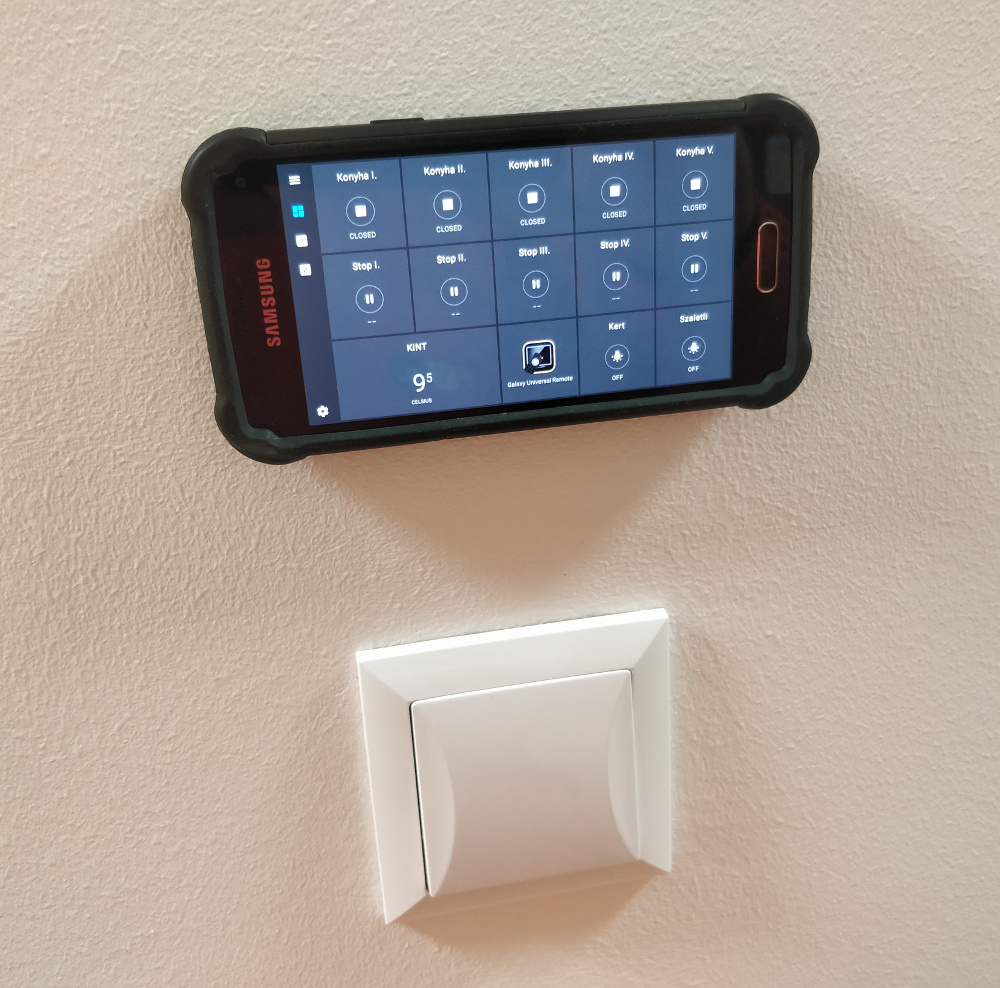
This is an old Samsung Galaxy S5 Mini phone.
Mounted on the kitchen wall covering a junction box. Using a $3 hard case from eBay drilled through and fixed to the box using a small screw.
Drawing power from inside the junction box underneath the phone, using a DC5V power supply + a varialble DC-DC converter, set to output 4.1V. Soldered to the battery connection pins (battery taken out completely), the phone boots up showing constant 71% charge.
Rooted and running LineageOS. Working stable for several weeks, showing controls for kitchen:

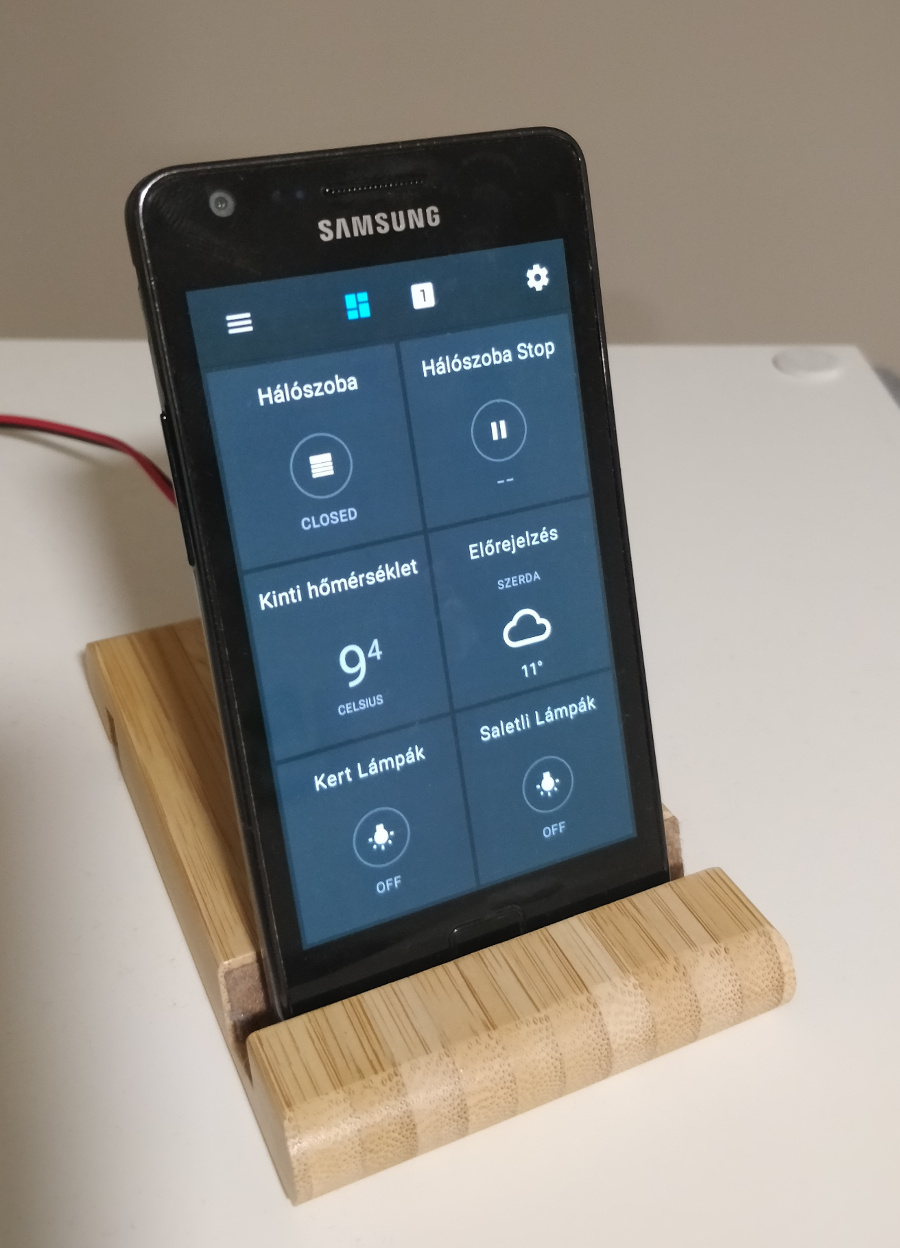
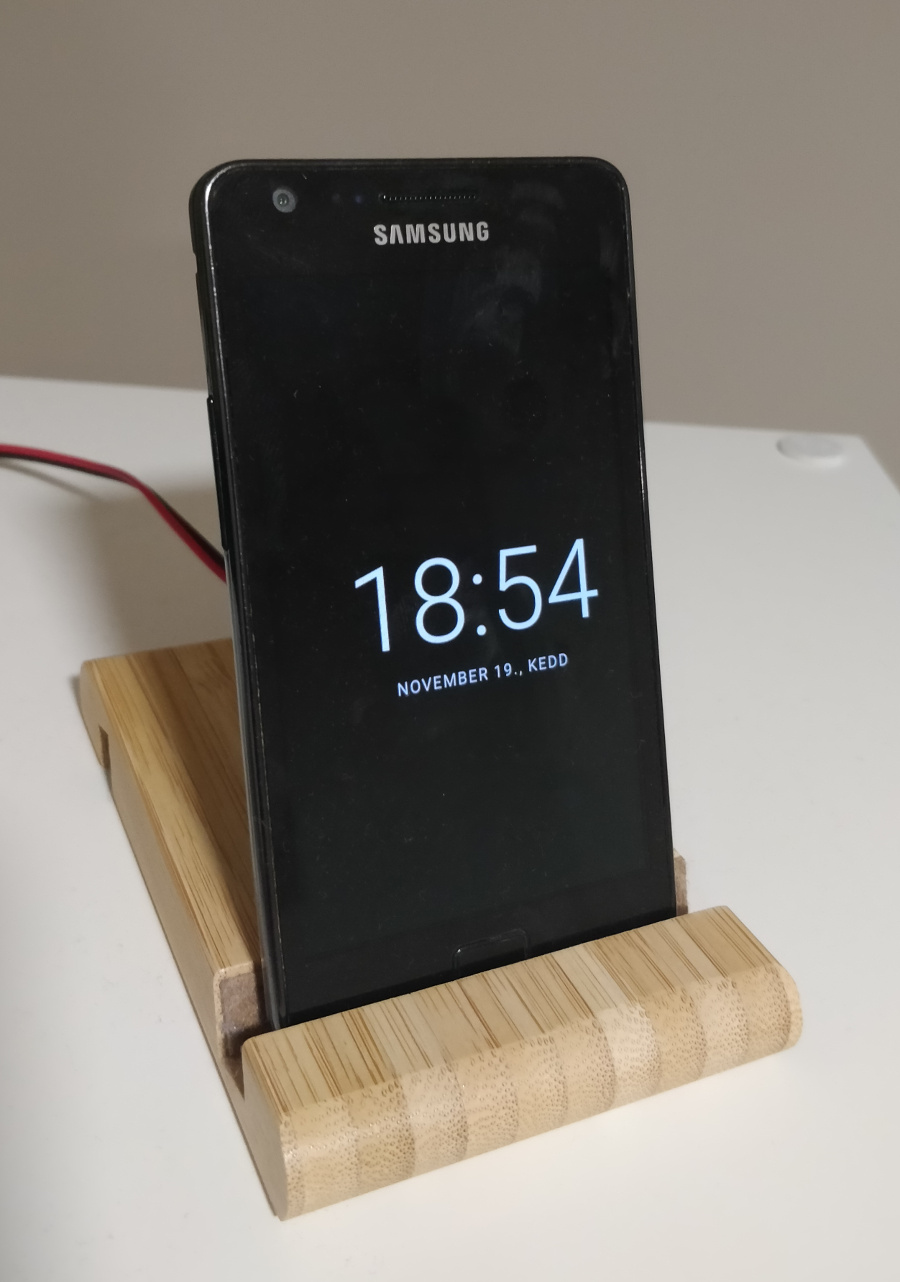
This is an old Samsung Galaxy S2 phone, again, refurbished.
Using an Ikea-stand (look for “Bergenes”) in the bedroom. Power solution similar to the S5 above, the DC-DC converter almost fits in place of the battery, cable through a hole on the back of the battery cover. Powered by a 5V1A external supply. Rooted running SlimROM. Shows only controls relevant to that part of the house + temperature infos:


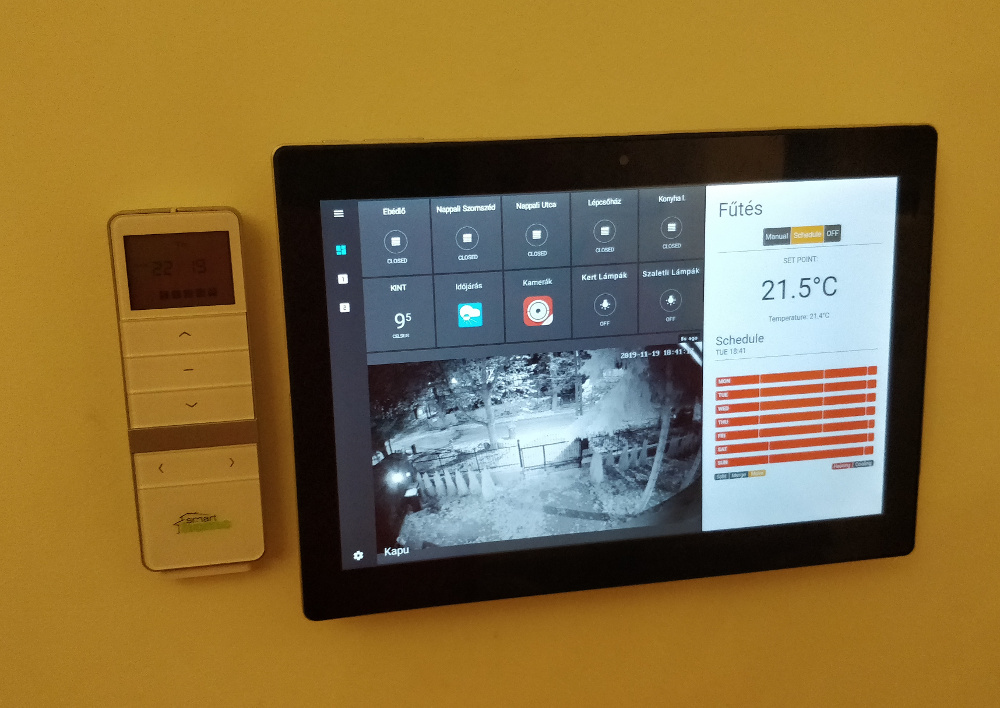
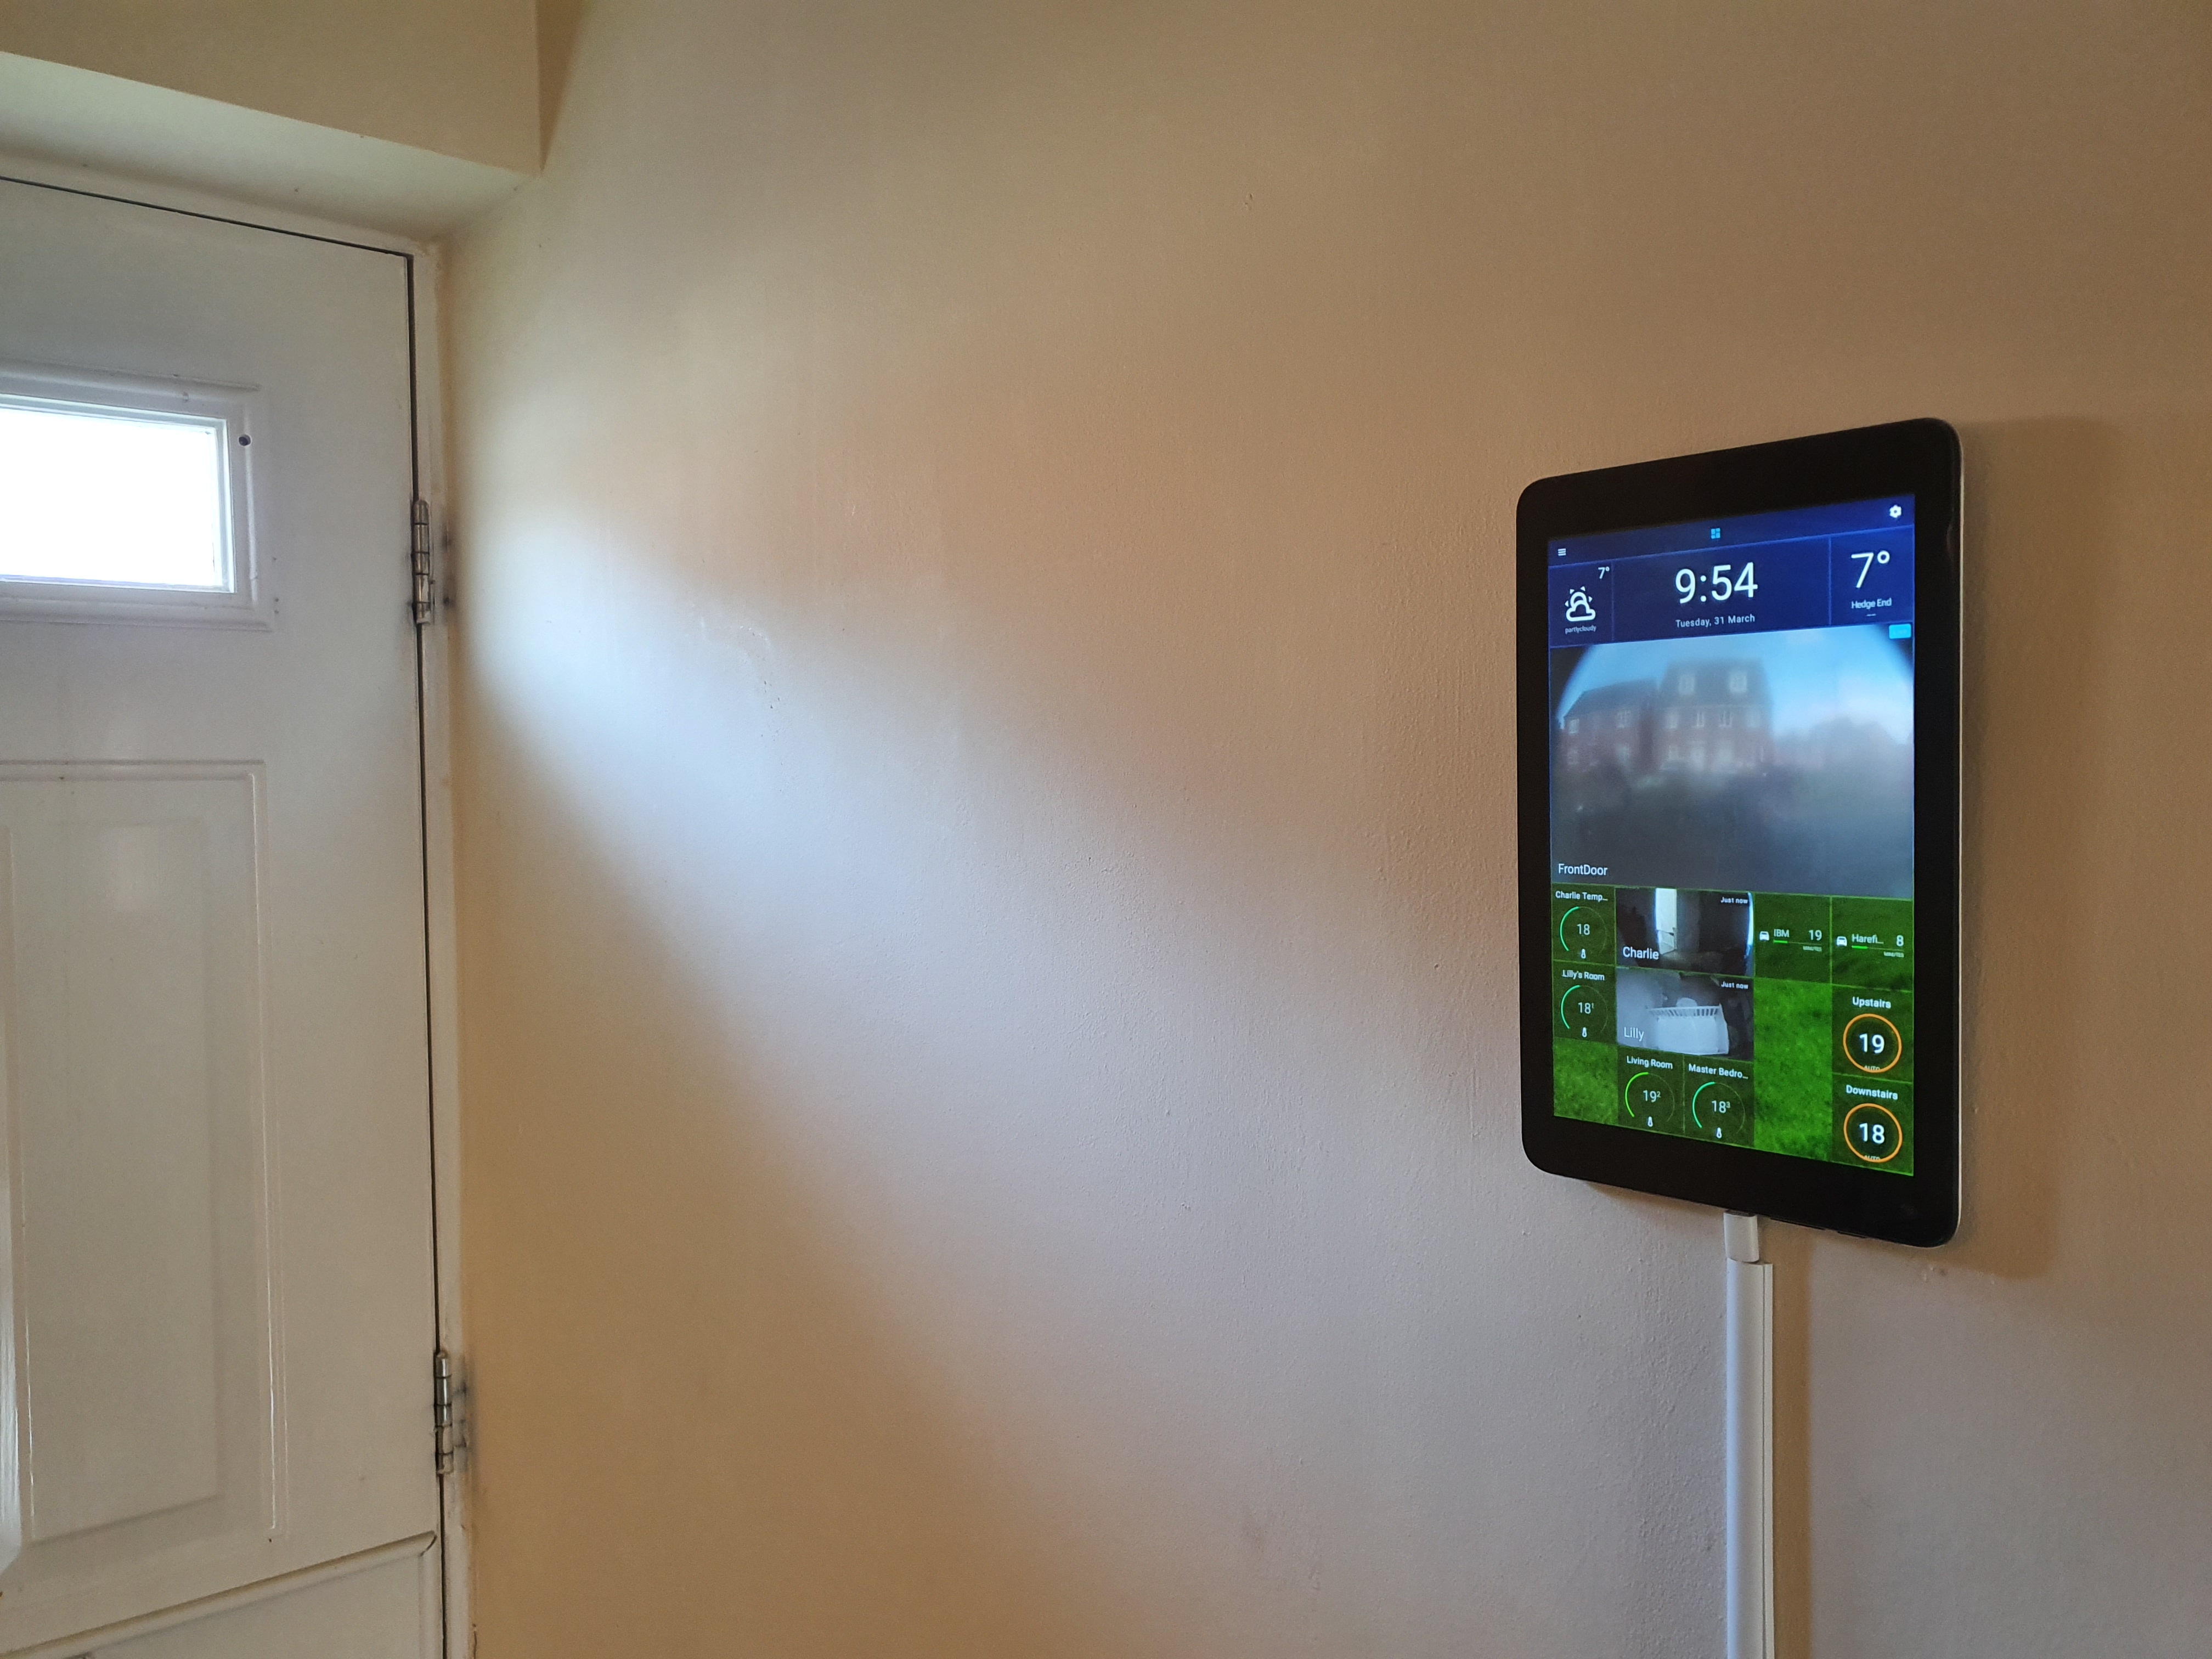
This is a wall-mounted PoE tablet from alibaba, model number YC-1011.
Runs wired from a PoE switch. Originally came with Android 5.1, but manufacturer offered upgrade to 7.1. It’s going to completely replace the rolling shutter remote next to it before Christmas. The layout is only for testing purposes. At the right of the screen, web-embedded interface of a WiFi MQTT Control Relay Thermostat:

5 Likes

That looks great! Thanks for sharing.
I might pick up some things about hardwiring. Have been using only standard tablet/phone chargers so far.

1 Like

I wanted to drop the battery completely. Seems that Samsung models are pretty easy to fool and think they have a battery connected, some other manufacturers like Nokia, HTC need an extra 100kOhm resistor soldered on to think they are battery-powered (I also have an old HTC Desire S prepared like this).

The only thing you have to really take care is to avoid applying 5V directly to the battery socket contacts. Batteries rated at 3.7V usually push out voltages between 3.5 and 4.1V, anything higher than this might fry the device.

A simple DC-DC step-down converter can do the job. Input is 5V (or whatever), output is adjustable, I’ve set mine to 4.1V. Output current: peak 3A, long time 1.8A. That’s enough for a phone - I’ve measured 0.9A peaks while using the touch screen, about 0.1A when on screensaver.

1 Like

Very nice mounting and power solution on that S5 mini there Robi.
Also, I think the PoE tablet is an interesting find. The vesa mount in combination with PoE sure takes care of some of the headaches involved with wall mounting tablets!

How do you wire it using the resistor ?

By trial-and find:

  • first you apply around 4V to the pins corresponding to the + and - and ckeck if it boots simply like that
  • if not, try to solder a resistor of around 80 - 100kOhm between - and one of the free pins - try to boot again
  • if still not booting, move the resistor to the other free pin, and try again. It should boot now

The resistor is to simulate battery presence, usually there are 4 pins, one is for checking temperature of the cell, the other is for battery size indication. With a resistor from -, one can trick the presence of the battery if the phone refuses to boot without this.
The Samsung models pictured above didn’t need any resistor, the HTC Desire S did.

2 Likes

My setup by the front door. Sadly the wall turned out not to be hollow, so I used trunking

1 Like